Showing posts with label painting. Show all posts

The Ikea Kiddy Furniture Makeover

This is our second set of Ikea kiddy table and chairs, they get a lot of wear and tear so they were screaming out to be painted and made over.


We chose the colours together, love the bright, clashing, vibrance that signifies her youth, anything goes!

Still using up the flowery plastic sheeting I had in the cupboard doing nothing, it was bought for another use years ago and never used, good to see it getting an airing.

We painted little blackboard "squares" to personalise the chairs for when her friends pop over, little things really do please little people, she was thrilled that she could now allocate seating!

Had a little issue with masking tape, so forked out for some Frog Tape and issues gone, well worth it.


Off to start my next project, the (found in the loft) pine bedside cabinets, I feel a bit of shabby chic coming on!

Linking up with Miss Mustard Seed for:


.

The Rocking Chair

When I got the rocking chair down from the loft I didn't fully realise just what memories it would evoke.  The 3 year old immediately wanted to play on it and we sat on it together, gently rocking, her giggling at the motion, me being transported back in time, a smile at a distant memory.


It has taken me a while to complete, it needed washing (scrubbing!) thoroughly, lightly sanding, a coat of primer and 2 coats of Craig and Rose acrylic eggshell in Morris Blue which went on beautifully smoothly.  I had to do it in small stages as I didn't want "help" from mini me on this one, that girl loves to paint and I've lined up a couple of small projects just for her.


I added a pop of colour just for fun with some Habitat Hibiscus Pink, but I foresee changing up the colours of the spindles and even re-painting the whole chair again, the colour possibilities are endless, but for now it blends in beautifully into my new bedroom decor.  I'll be making up some new cushions especially for it too but for now I shall just sling whatever cushions I have and rock!


It wasn't the easiest of items to paint with all its nooks and crannies but I shall get hours of pleasure rocking and remembering another time and the baby boy who still has my heart.


Love Chic Living and Love Your Home
Upcycling furniture, preloved.

Look what I've found!

Peeking up into our loft recently (where I rarely venture) I found 7 pieces of old furniture that will be getting a makeover.  These were out of sight and out of mind and probably destined not to be used again (you know the scenario, stick it in the loft until we decide what to do with it) but I now find I want to try to renovate, paint and upcycle where I can.  I really can't wait to get started!

Everything is a little dirty and very dusty (they've all been up there for years!) but a little wash down with sugar soap should do the trick.

Here are some ...


I nursed my first child in this chair (with plenty of cushions!) in the early 90's, couldn't part with it so in the loft it went.


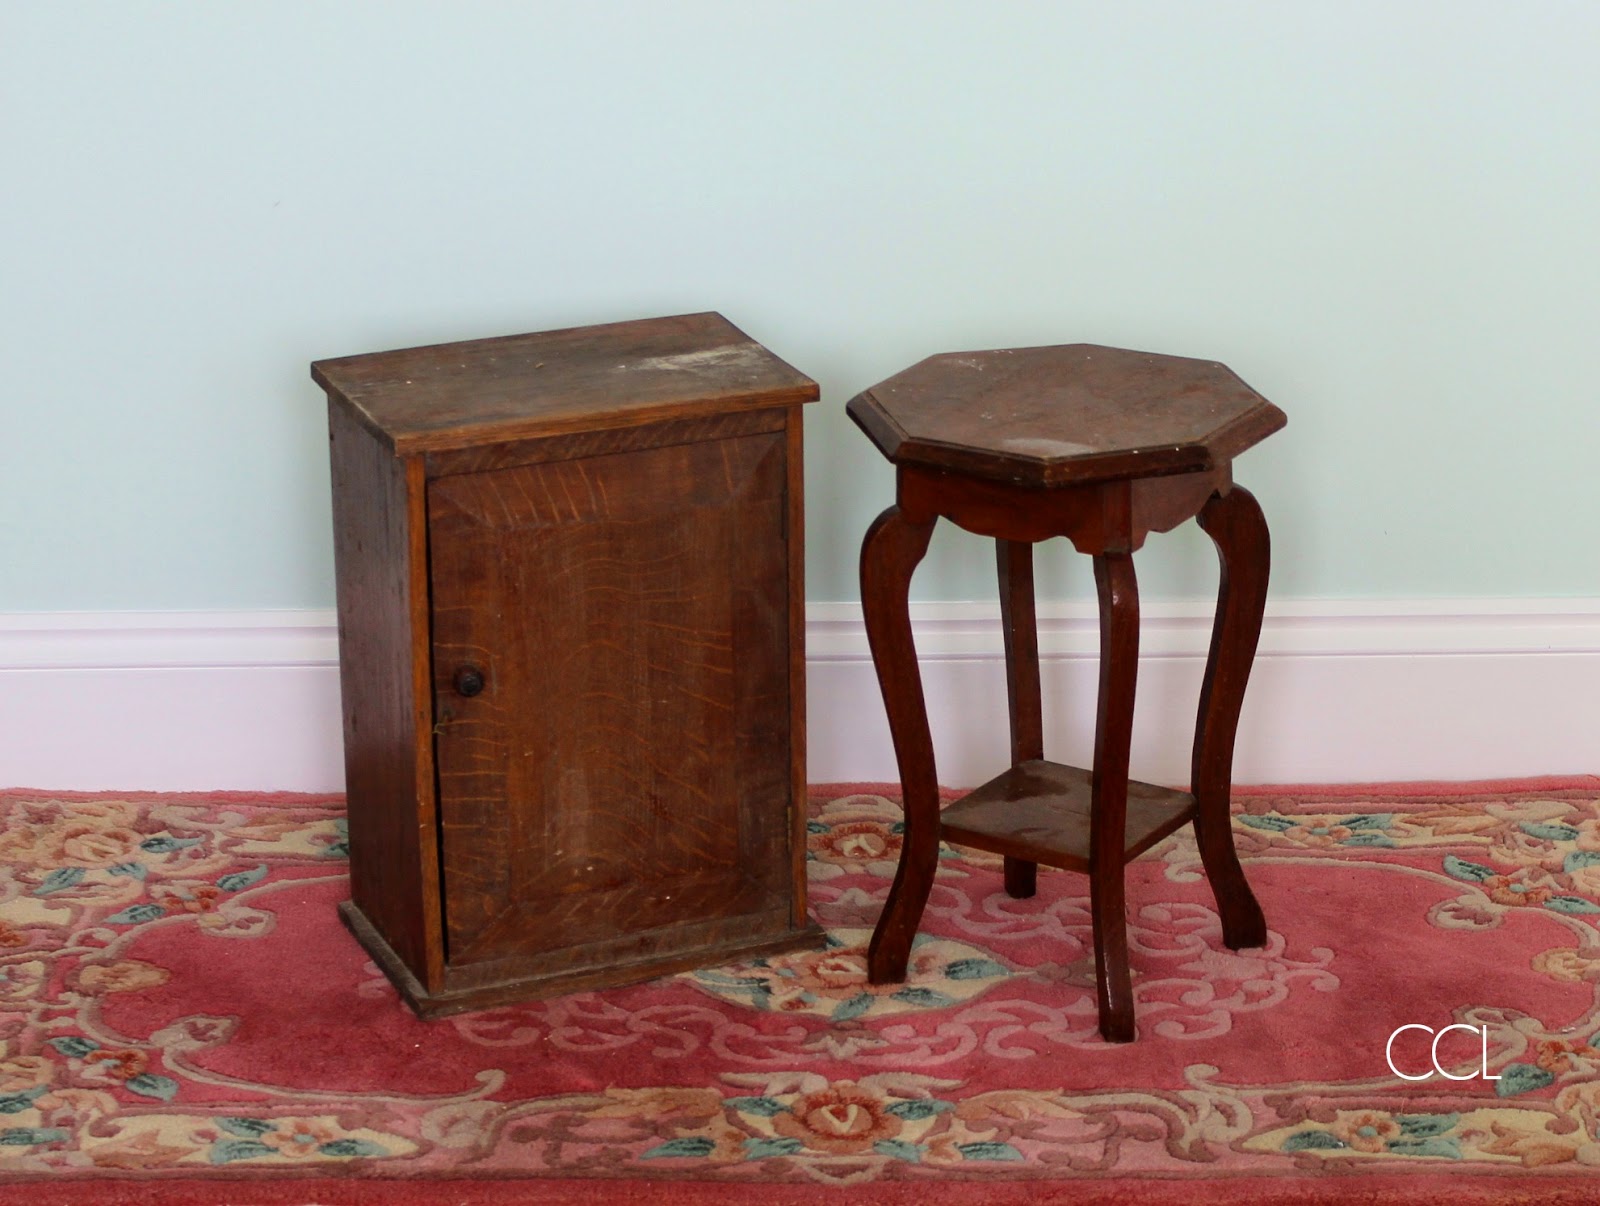
My husband had this plant stand and the cupboard and table below when I met him, he used to like a rummage in "antique" shops, they also found their way up to the loft over time.


These items of pine furniture, chest of drawers and 2 bedside cabinets were long forgotten and are a little worse for wear.

There is also a beautiful table still up in the loft that is very rickety but with a little attention, it will be a great piece and a pine headboard and bed are also being painted and upcycled.

These should keep me busy on and off over the summer!

Linking up with:


Love Chic Living and Love Your Home

Craig and Rose Paints

Have you seen these??  I stumbled upon them recently in B&Q, Craig and Rose Chalky emulsion paint in authentic period colours.


They have some gorgeous colours and I'm looking forward to trying more of my preferences, like Pale Chalk Blue, Pewter, Nickel, Violet Slate and Zinc when they are back in stock.  The packaging is so eye-catching too, cool little tins and re-useable jars instead of the plastic pots that seem to dry out.

B&Q have a 3 for 2 on at the moment on all paints which has meant I have been able to try out more of the Craig and Rose colours.  I made up some paint swatches with some of them, my current favourite being Morris Blue, I find it easier to test colours this way rather than rely on the colour on a chart especially if they are only available online where the colours can vary.


With quite a few furniture pieces to paint now after peeking in the loft, having forgotten what we'd put up there plus a few more pieces around the house that were leaving us, now I want to paint them all!! Who knows they may all get a second chance.


Chalk Paint, home decor, furniture painting
.

.


DIY Chalk Paint - An Experiment - Part 1

I'm loving using chalk paint, it can be used on any surface with no prep needed beforehand, so no sanding or priming necessary!

Tootling around the internet for chalk paint suppliers I came across ways to make chalk paint. I have a box full of paint testers that were left over from choosing paint colours and some old tins of paint.  I used some to make props for my photography and now it seems I can make chalk paint with the leftovers!

The ingredients are quite simple, Plaster of Paris (bought from Hobbycraft), water, paint - I'm using Matt Emulsion plus a couple of plastic containers to mix it all up.

So this is where the experimenting starts!  I made up the smallest amount to paint a piece of wood to test it on.  The ratio as per the instructions on the packet of Plaster of Paris are 2 parts to 1 part water but like I said experimenting!

Into one of the plastic containers I put 3 tablespoons of Plaster of Paris and mixed with 2 tablespoons of warm water, making a well (like cake making) and gradually incorporating the fluid into the powder.  It should be a smooth, thickish consistency, adding more water if too stiff.  It looked a good consistency so decided to leave out the extra tablespoon of Plaster of Paris this time.


Into the second container added the paint (I used 3 different leftover paint colours), around 200ml then combined with the Plaster of Paris until smooth.

The result?

The paint went on well but compared to bought chalk paint it was thicker, maybe because the paint was old and paint does thicken with age.  It covered in 2 coats but although the finish was smooth, it wasn't as chalky as the bought version but a good finish none the less.  I think I probably needed fresher, thinner paint and that extra tablespoon of Plaster of Paris?  Definitely room for improvement and more experimenting with ratios!


I will keep on using the bought versions but this is a great way to use up all that leftover paint but also using freshly bought paint to create custom colours with that chalky paint effect.

.


Furniture Painting - a revival

Long, long ago in what feels like another life, I used to have a passion for decorative paint techniques, upcycling and renovating unloved pieces of furniture.  Whilst in labour with my first child this is the book I was reading between contractions!


I rag rolled and sponged my way around our house and when our bungalow became a house I kept a piece of wall as a souvenir of those early sponging days, my first attempt was the baby's nursery, the one I was in labour with all those years ago.

Now I'm going full circle and going back to doing what I love, starting with a furniture painting workshop, just for fun and to dip my painted toes into the water again.

So off I took myself to a 3 hour Furniture Painting Workshop locally, leaving the 3 year old with daddy who took the morning off then took her to nursery at 12, leaving me free to not rush back madly as I usually do.


Emma Burt from Love House Interiors offers a range of workshops in her Southwick (near Brighton) studio to create artistically finished shabby chic furniture and signs using chalk based paints.  I had seen these types of paints around but never had the chance to use them.  She uses the Autentico brand which is a no-prep paint that can be used straight onto most surfaces including varnished without the need to sand first, music to my ears as I had imagined a cloud of dust and a lot of elbow grease!  

Follow my Painted Furniture Board on Pinterest

We were asked to bring along a small piece of furniture to work on. I took this sorry looking piece of furniture that was part of a nest of tables, long forgotten in my garage.  I had wanted to take one of my pine bedside tables that I will paint to co-ordinate with my bedroom, but wanted a test piece to practice on first.


The table was quite dark but the paint covered really well even on the first coat, this coat was dried with a hairdryer, then a second coat applied and dried again.  Emma then showed us some nifty finishing techniques using sanding blocks, sandpaper, waxes and varnish to achieve the shabby feel.

So a little sanding was required but really minimally just to smooth the surface and make it clean and also to add those shabby distressed look touches.  I didn't go too crazy with mine, just outlining the edges and corners and a few other light touches, I will be more bold with my next piece!

We then applied the wax to infuse moisture into the paint and wood, this brought up the colour amazingly well too.

At this point you would finish off with a protective layer of varnish although I didn't have time so bought some paint, wax and varnish to finish off the piece and get going on my next masterpiece!

I came away from a very relaxed and enjoyable workshop with an old, forgotten piece of furniture which now has a new lease of life and now fits into my decor.  Upcycling at its best!


Love House Workshops, bespoke furniture and interiors can be found here.